
I got a pickup game at the Warhammer store nearby this evening. Open War, which means a randomly generated mission from a card deck, the details of which are in the pic above.
I play White Scars, of course, whose main benefits on top of being just another Space Marine chapter are generally centered around the things they can do after having Advanced. The Twist in this game obviated all of that, since there would be no Advance moves permitted in this game. Sucks to be me!

My opponent was running 50 PL of Deathwatch to my own 50 PL. His list was something like:
Primaris Captain
Something or other Kill Team
Two Invader ATVs
Assault Centurions
Gladiator Lancer
Inquisitor
He combat-squaded his Kill Team such that one half had four veterans with missile launchers and one terminator with a Cyclone missile launcher, and the other half had four veterans with fancy shotguns and the sergeant with a power sword and shield of some type. I'm not overly familiar with the Deathwatch kit.
My own list this time was the easiest way I could get to roughly 1000 points, or 50 PL, going with a Primaris theme, for variety. Not an optimized list by any means. No anti-tank capabilities to speak of.
Primaris Captain in Gravis Armour
Primaris Lieutenant in Phobos Armour
Primaris Librarian
Intercessor Squad with Bolt Rifles
Intercessor Squad with Bolt Rifles
Intercessor Squad with Auto Bolt Rifles
Reiver Squad
Aggressor Squad
Suppressor Squad
Eliminator Squad
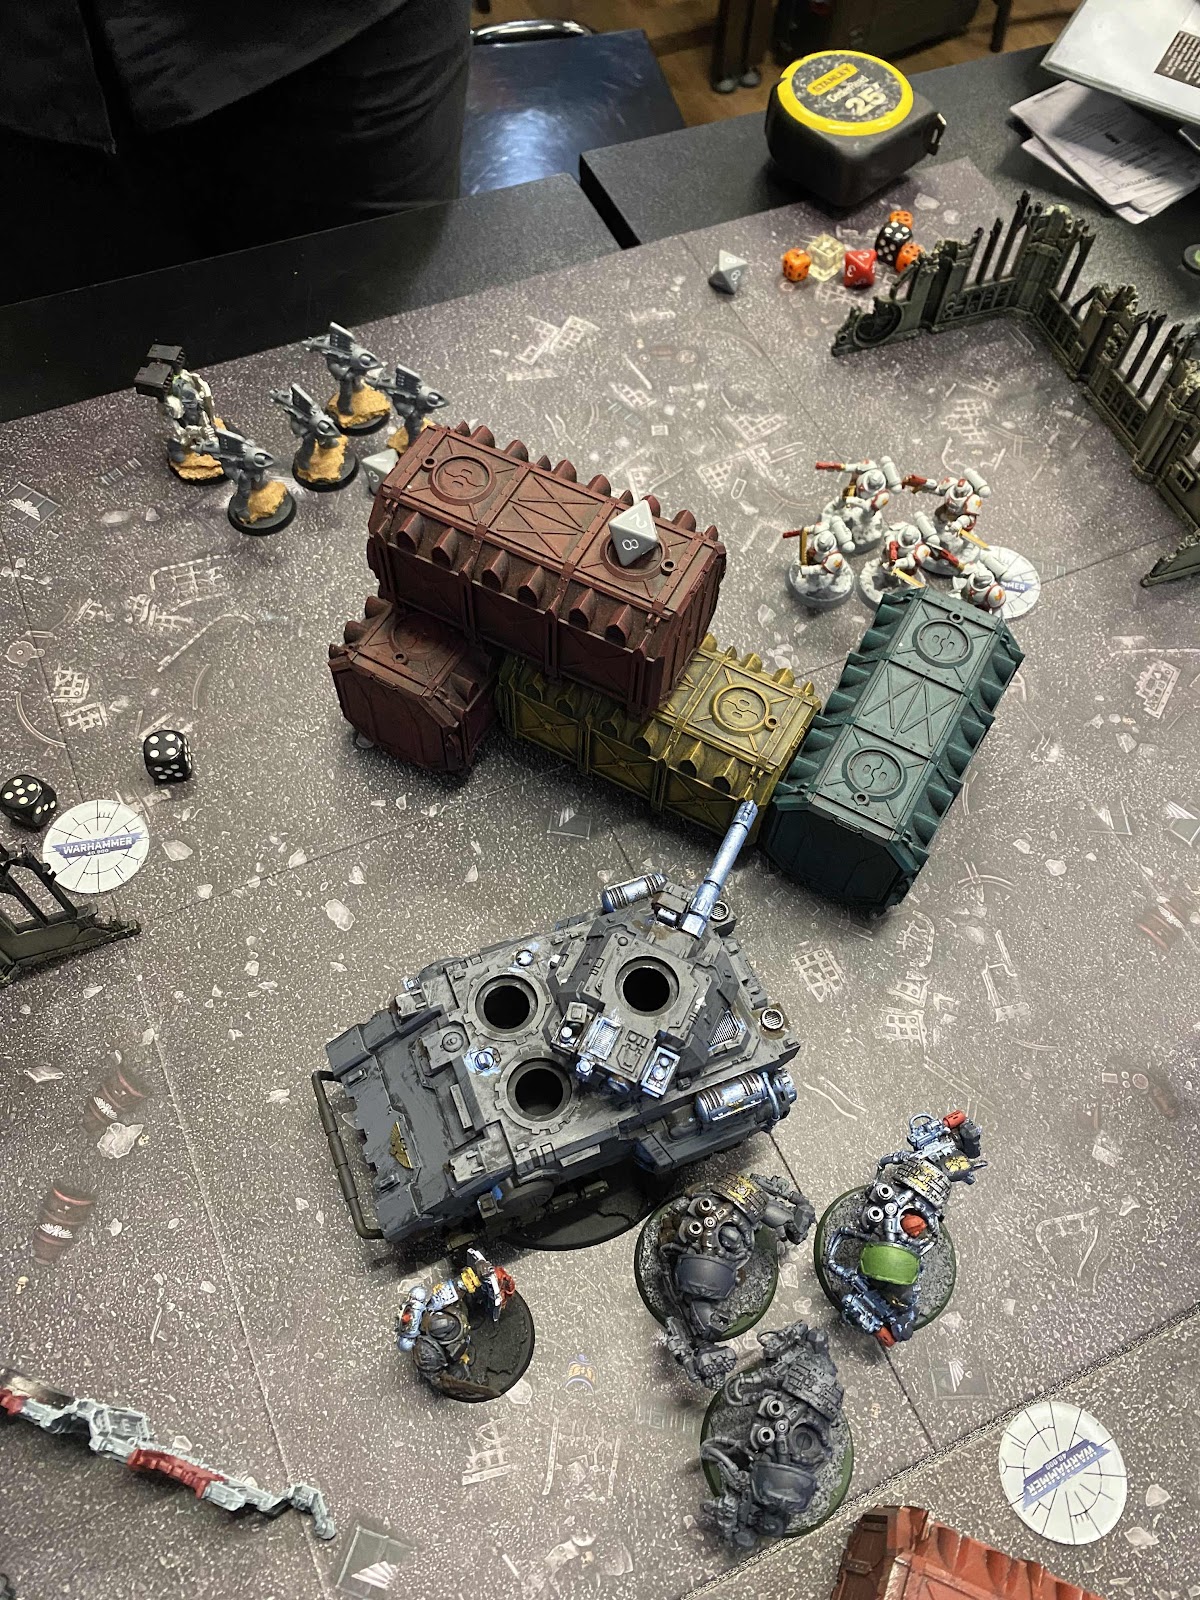
He put his Centurions in a teleportation chamber to Deep Strike them, and I put both my Aggressors and Reivers into Outflank. Pics of deployment above and below. Most of my stuff began in the large ruins in my deployment zone near to a couple of objectives.

I won the roll off for first turn, but I decided to let him have it to allow him to come to me. I felt like this made sense without the capability to Advance this game, plus it would mean he had to stick his neck out first.
In a first, he actually decided to use the Orbital Bombardment stratagem on me, as my stuff was all bunched up to begin with. This would mean that I would have to move a lot of it during my turn or face mortal wounds when it got back round to his turn. This suited me, since I had three Intercessor squads I wanted to get out onto objectives anyway, and my Suppressors were more than capable of moving to find a good line of sight. Only my slower moving Captain and the stationary Eliminators would knowingly risk the mortal wounds, though it turned out one Intercessor squad was also close enough to get clipped in the end.
You can see the results of my first movement phase below. The troops all moved out and onto objectives or toward the central one, and the Suppressors moved first onto the top of the crates, then after shooting made a successful charge into his remaining ATV. I believe their shooting and the Libriarian's Smite did for the first one.

Below is the state of the board at the end of my first turn. I had lost one Eliminator and one Intercessor at this point, but gained a VP by controlling more of the objectives for the round. 1-0.

When the Orbital Bombardment went off, my Captain took a fat 3 mortal wounds from it, leaving him with 4 wounds remaining.

During his turn, his ATV fell back from my Suppressors, toward my troops on my left side objective. He used a stratagem so that it'd be able to shoot, as well.

By the time of this next pic his and my reserves had both arrived, so this had to be during his third turn. When I brought in the Aggressors over in his back corner I had them fire at the half Kill Team near them, but only one guy died. It took the rest of my second turn's shooting to kill only three of them in total.

His ATV had shot at my units close to it, but not done anything. In my next turn I had charged it with my remaining Suppressor, and everything else nearby, killing it with my Captain, who them consolidated over to the right back behind the crates.

This was the body count at that point. As of this point he had lost one full unit (the two ATVs), and I had not lost any, meaning I had a point from the second victory condition of the mission, as well as a second from the objectives, so 3-0 here.

This unit below with all the missiles blew my Aggressors away before they could move after their initial outflank arrival. Rough stuff!

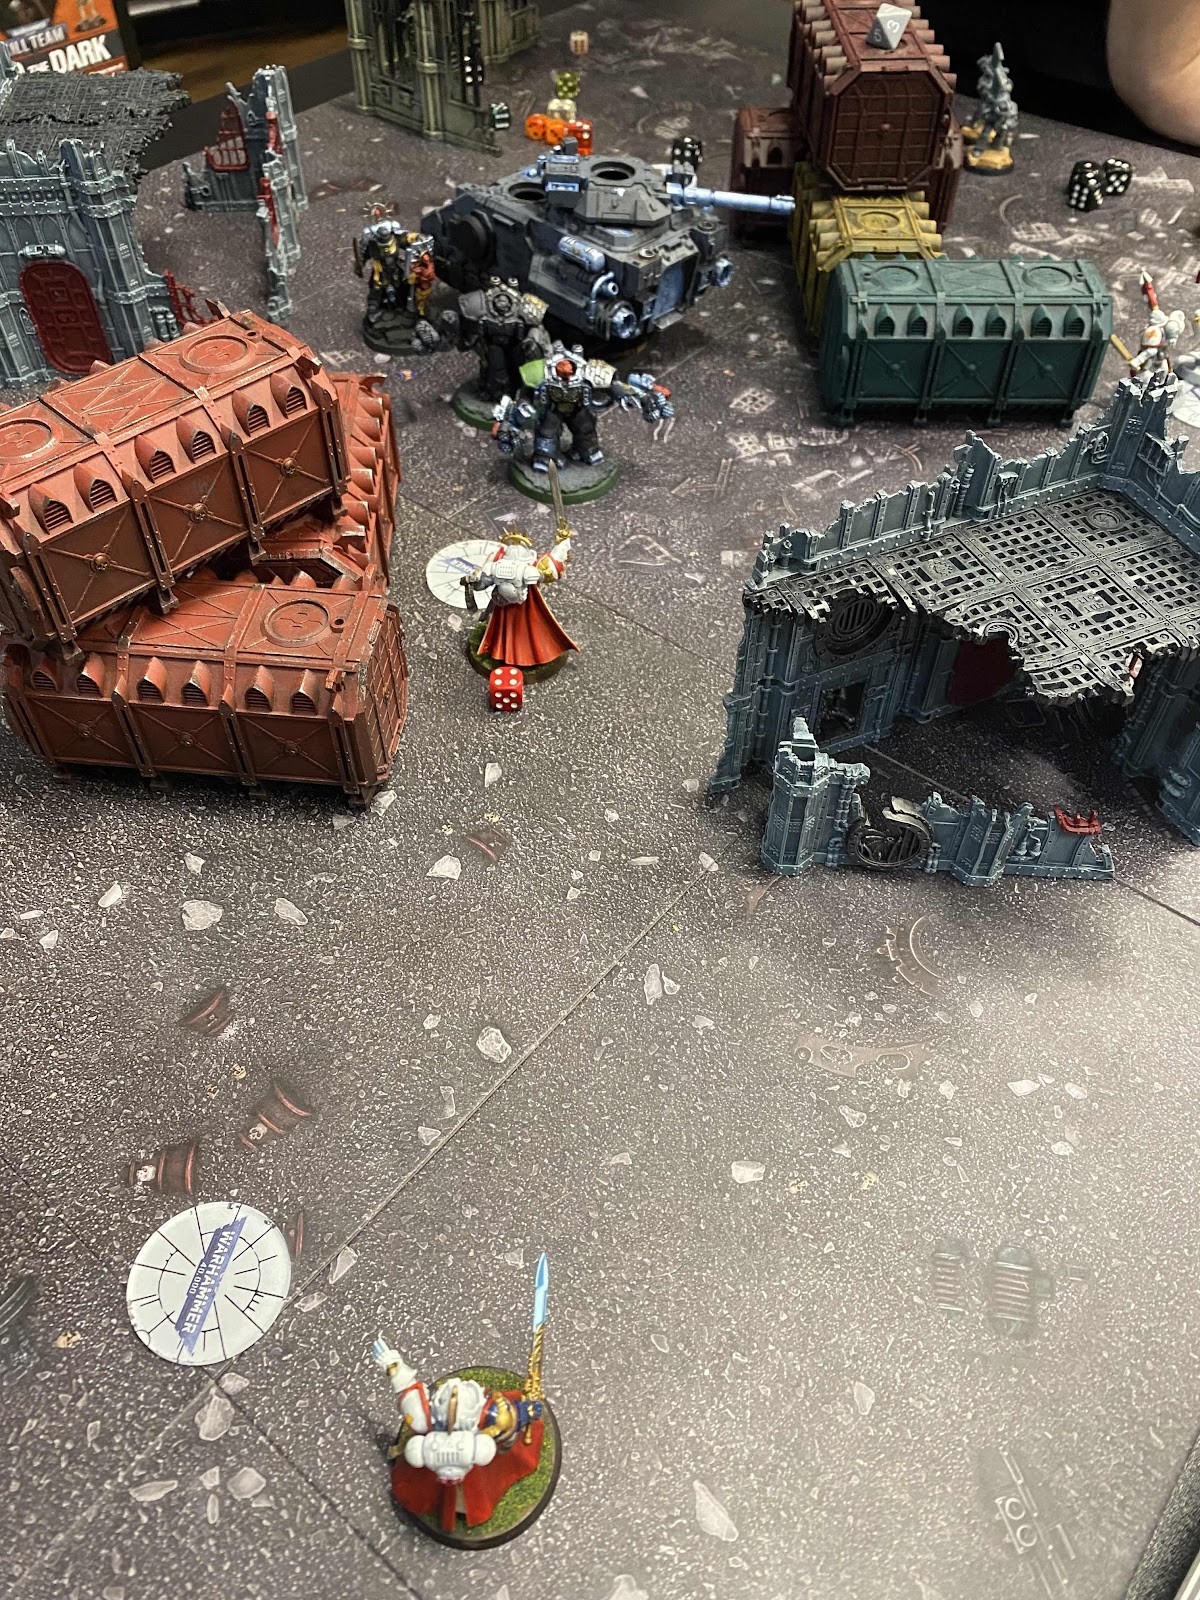
Below, in my third turn, I have moved the Reivers up toward his Inquisitor, looking to charge him in order to get them on that objective. A note about his Inquisitor: he was running a proxy model, and wasn't quite sure what he wanted to do with the unit aside from Deny the Witch, so he elected to play it as nothing more than a backfield point holder and Deny source (no offensive moves). Whatever. My unit made their charge and he just picked up his Inquisitor at that point. Fair enough. He would have been facing something like 21 attacks, in Assault Doctrine.

There are a couple of Veterans in the pic above near to my models. They're gone in the pic below, to Smite and my Captain's shooting. I believe this gave me the "kill more" point for Round 3 as well, so 5-0 here if I'm not mistaken.

Below you can see how my Reivers have grabbed that objective, and also how his missile combat squad is lining up their shot. His Gladiator did a lot of shooting this game but mostly wasted shots at my Eliminators in cover, who he found extremely tough to kill (though they did very minimal work for me other than drawing his fire).
I know well the value of Assault Centurions with melta guns and siege drills from my own. Dealing with his was rough. I was able to Smite one away entirely with a D6 damage cast (4 mortal wounds exactly). I took another out when my Captain charged the remaining two. I should have been able to kill both, with nine power sword attacks on the charge, hitting on 2s and wounding on 3s (WL trait buffing his S stat), especially since Assault Doctrine made each attack -4 AP and 2 damage! Instead I had absolutely awful hit and wound rolls, and only two of the nine attacks made it through to damage. Four made it through to need saving, but he miraculously rolled two 6s to save. Well, two attacks at 2 damage each meant another dead Centurion. That left one, however, that was able to smash my Captain to bits after I failed three invulnerable saves at once.
His missile guys opened up and killed three of my Reivers, as well. I think two survived due to Transhuman Physiology.

In Round 4 I also moved my Lieutenant back into cover but still on the left side objective.

I was controlling 3/5 objectives at the end of Round 4, but he had killed more units, so 6-1.

In Round 5 he was finally able to finish off my Reivers, Eliminators, and kill my Librarian, leaving me with only my Lieutenant, and also him in control of more objectives, so the score was then 6-3 at the end of the game, in my favor, with my Phobos Lieutenant retreating to take the news of the battle to high command.
My list was not really geared to take on his Gladiator, or the combination of the ATVs and Centurions, either. If not for very cold dice I could have done for the Centurions, though, and the ATVs were taken out, too.
His combat squad of missile guys wrecked both my Aggressors and Reivers (over a couple of turns), but the other of shotguns didn't do all that much. Armour of Contempt makes marine on marine battles real slugfests.
This was a very fun game that felt very close all the way through. I was tracking my own VP as we went, but he wasn't, really, so I didn't know how much of a lead I had until I sat down to write the game up and figure it all out. We both kind of came with half-baked casual-ish lists (his was meant for Crusade night), and ended up having a good time. Win/win/win!
No comments:
Post a Comment